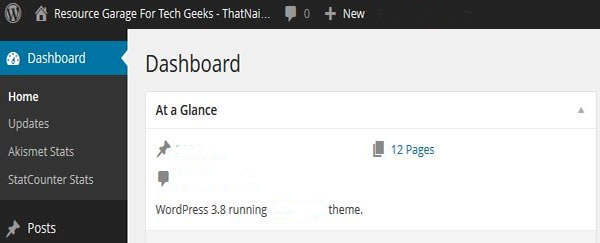
This tutorial will teach you how to run a WordPress installation on your localhost, I also have another tutorial that will show how to speed up WordPress blog.
Now that you have completed the design and you are satisfied with your creation. Let transfer WordPress from localhost to live server.
Exporting the database from your localhost
Hint: – Navigate to your database from lists of databases available.

Click the Export tab

Select all tables

Choose gzipped compression option

Click Go and watch your database being exported.
Exporting WordPress
1. Go to your “www” directory

2. Locate your database folder
3. Open the folder and Select all files in it.
4. Zip all the selected files.
You should see a new .zip file inside your database folder. Take that .zip file and place in your desktop.
Creating Database And User
1. Log in to your Cpanel account
2. Locate MySQL Database
 3. Creating Database

4. Creating User

5. Add User to Database and grant all privileges

Importing Database
1. Go to Phpmyadmin on your Cpanel

2. Locate and click your created database on the left-hand side of your screen.

3. Select the import tab and import the database you exported from your localhost (Wamp Server)
![]()
4. Now, locate “wp-options” on the left-hand section of your screen.
5. Change the url to your blog url. Ensure you start with http://

6. Click Go.
Importing WordPress Files
1. Locate File Manager on your Cpanel.

2. Clear and/or delete any file you see. They are usually 3-files in a new host. Just get rid of them
3. Click the Upload icon

4. Upload the .zip file which you place in your desktop earlier.
5. Once upload in complete, reload the Cpanel and Select the .zip file
6. Click the Extract icon and watch your WordPress files extracted.

7. Reload the Cpanel and delete the .zip file.
Editing wp-config.php file
1. Go to the root folder, where the WordPress file where extracted.
2. Locate wp-config.php
3. Click on it and use of the “Edit” icons that appears on the top bar of the Cpanel
Locate this lines of code below
Change the highlighted words
TEST: The database you created earlier
USER: The username you created earlier
PASSWORD: The password you use to log into your cpanel.
Hint: If you have forgotten your database name and/or username. You can head back to the database manager in your Cpanel home to locate them.
Finally
1. Type http://www.YourDomainName.com/wp-admin
2. Log in with your username and password
3. Navigate to Settings on your Dashboard > General and change the url fields if “localhost still exists” in them.

4. Save and Enjoy your WordPress installation
Note: – If you get an “error connecting database” message. Quickly go back to “Editing the wp-config.php file. You have incorrect information supplied there. If you still can’t fix it. Kindly contact your host.
Your Turn
This is how you upload WordPress from localost to live server. If you have got any question, feel free to drop them on the comment box. Don’t forget to say thanks if this was helpful.
Hot:


2 Comments
nina
Just stumbled on your blog and this seems really well explained , am still working on the website locally but as soon as am done will follow the steps.I will keep you updated if at all it works
Nosa E Nosa
Hello nina,
This should work for you. You can also use FTP, when I am not too lazy, I can create tutorial on how to make that happen.